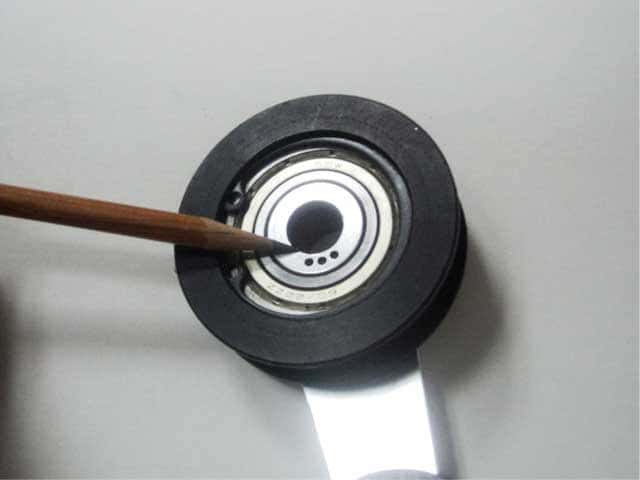
Chain tensioner assembly steps
These instructions apply to our Quick-Adjust kit, which is available either when ordering your bike, or as an aftermarket it.
1. Place the coil spring into the tensioner arm bore. The spring tab shown in the top picture goes into the hole shown in the picture below.

2. If you have an older tensioner with 4 holes, make sure you put it into the hole shown and not any other hole, otherwise the tensioner will not work properly!

3. Newer tensioners with three holes normally use the middle hole, but you can use the other holes to increase or decrease spring tension if desired.

4. Place the metal washer first and plastic washer second onto the shank of the shoulder bolt as shown below. Next put 2mm of spacer(s) onto the threaded portion of the shoulder bolt. Last put the bolt with washers and spacer(s) into the tensioner arm bore as shown.

5. Verify/install the two roll pins in the larger holes shown on the back plate. Both pins need to be protruding from the back of the plate, otherwise the tensioner cannot be assembled. If one pin is protruding from the front of the plate, use a hammer to push it out the back of the plate as shown below. The two large empty holes shown below are not used.

6. Install the flanged plastic washer onto the front of the plate. Make sure the hole in the plastic washer lines up with the small hole in the plate. While keeping the holes lined up, install the plate with flanged washer onto the shoulder bolt, and insert the coil spring tab into the hole shown below.

7. With the back plate on, hold the tensioner arm by hand and use a pair of needle nose pliers to grab the shoulder bolt and inner roll pin, then turn the back plate 180 degrees clockwise to the position show below. At this point you can tap the outer roll pin down into position. The outer roll pin functions as a stop to keep the tensioner from hitting the front wheel. After the outer pin is down in place you can let the back plate rotate counterclockwise and remove the pliers, spring tension will keep the back plate in place. Note: You will need a second person to help with this step.

8. At this point you can bolt the tensioner back onto the frame, making sure to put the inner roll pin into its hole on the mounting plate. Make sure the tensioner operates smoothly through it entire range. If it does not you can loosen the mounting nut then snug it up again, as sometimes the shoulder bolt does not seat correctly.